
Having uneven concrete in your yard can be a real headache. It not only looks unattractive but can also be a tripping hazard. Over time, concrete can shift and settle, causing raised edges and sunken spots. These issues can result from various factors, including soil movement, heavy loads, or even poor initial installation. Luckily, leveling your concrete yourself can be straightforward with the right steps and tools.
Whether it’s a sidewalk, patio, or driveway, ensuring your concrete is level enhances the safety and curb appeal of your yard. You don’t need to be a professional to handle minor leveling tasks. With some preparation and a step-by-step approach, you can fix uneven concrete surfaces and make your yard safer and more pleasant to look at.
In this article, we will explore how to spot uneven areas in your concrete, prepare the site for leveling, execute the steps to level the surface, and maintain it afterward. These simple guidelines will help you tackle the project confidently and effectively, keeping your yard level and secure for years to come.
Identifying Uneven Concrete Areas
Before you can fix the problem, you need to identify which areas are uneven. Start by walking around your yard and carefully observing the concrete surfaces. Look for visible signs like cracks, raised edges, or sunken spots. These are the typical indicators that your concrete is not level.
One easy way to check is to use a level tool. Place the level on the concrete surface and see if the bubble stays in the center. Move the level around to different sections to ensure you’re checking the entire area. Another method is to pour a small amount of water on the concrete. Watch where the water flows or pools, as this can also help identify uneven areas.
Don’t forget to examine the edges where the concrete meets other surfaces like grass, gravel, or other concrete slabs. These transitions often show signs of uneven settling. By thoroughly inspecting and marking the uneven spots, you’ll have a clear idea of where work is needed.
Preparing the Area for Leveling
Preparation is key to successfully leveling your concrete. Start by clearing the area of any debris, leaves, or dirt. A clean surface ensures that the leveling compound adheres well. Use a broom or a leaf blower to make sure the area is spotless.
Next, you’ll want to repair any cracks or holes in the concrete. Use a concrete filler or patching compound to fill these gaps. Follow the instructions on the product for the best results. Allow the patching compound to dry completely before moving on to the next step.
Lastly, gather all the tools and materials you will need. These may include a level tool, a concrete grinder, a bucket, a mixing tool, and the leveling compound itself. Having everything ready and within reach makes the process smoother and more efficient. Proper preparation sets the stage for a successful concrete leveling project.
Step-by-Step Guide to Leveling Concrete
Once you’ve prepared the area, you’re ready to start leveling the concrete. Here are the steps to follow:
1. Mix the Leveling Compound: Follow the instructions on the package to prepare the leveling compound. Use a bucket and a mixing tool to get a smooth and consistent mixture. It’s important the compound is lump-free.
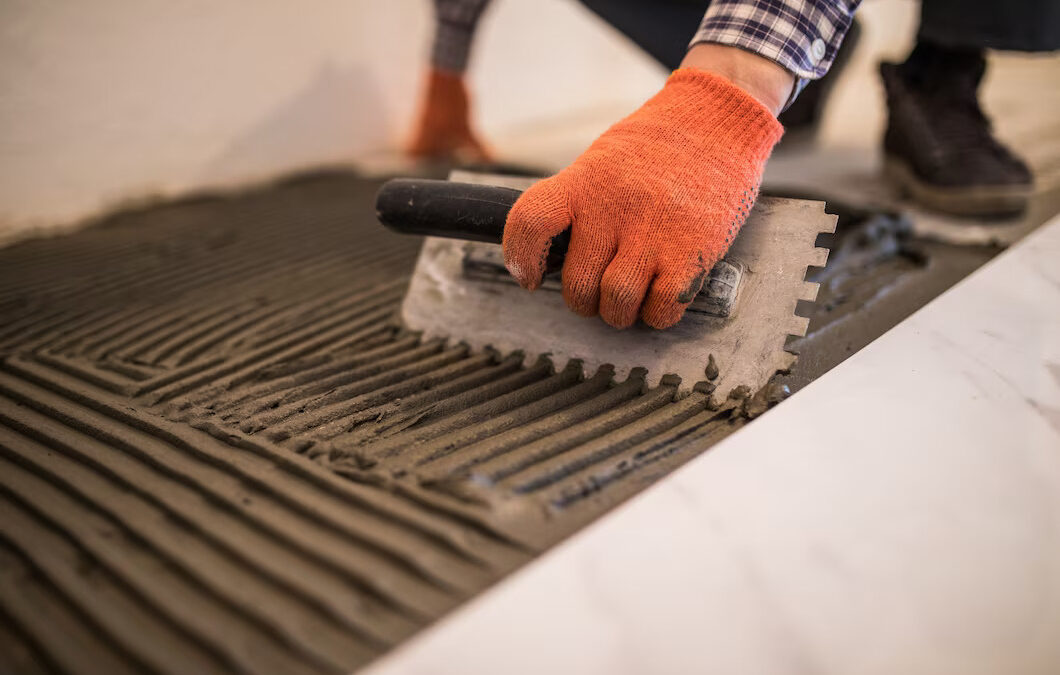
2. Apply the Leveling Compound: Pour the leveling compound onto the lowest areas first. Use a trowel or a spreader to distribute the compound evenly across the surface. Make sure you fill all the low spots and cracks.
3. Smooth the Surface: Use a long, straight board or a leveling tool to smooth out the surface. Move the board back and forth in a saw-like motion to ensure the compound spreads evenly and fills all the gaps.
4. Let It Set: Allow the compound to set according to the manufacturer’s instructions. It usually takes a few hours to a full day, depending on the product and weather conditions.
5. Check the Level: After the compound has set, use a level tool to make sure the surface is even. If there are still some uneven areas, you might need to apply a second layer of the compound.
These steps will help you achieve a smooth and level concrete surface that looks great and is safe to walk on.
Tips for Maintaining a Level Concrete Surface
Maintaining a level concrete surface once you’ve fixed it is just as important as the initial leveling process. Here are some tips to keep your concrete in good shape:
- Regular Cleaning: Keep the concrete surface clean by sweeping and washing it regularly. Debris and dirt can cause minor abrasions that may lead to bigger problems later.
- Seal the Surface: Apply a concrete sealer to protect the surface from water, weather, and wear and tear. This helps keep the concrete looking new and prevents cracks.
- Monitor for Cracks: Periodically check for new cracks or signs of settling. Addressing these issues early can prevent more extensive damage.
- Proper Drainage: Ensure that water drains away from your concrete surfaces. Standing water can seep into the concrete and cause it to weaken or crack over time.
- Avoid Heavy Loads: Try to avoid placing heavy objects or vehicles on newly leveled concrete. Give the material ample time to cure and strengthen.
By following these tips, you can ensure that your concrete stays level and lasts for years to come.
Conclusion
Leveling concrete in your yard doesn’t have to be daunting. By identifying uneven areas, preparing properly, and following a step-by-step approach, you can make your yard safer and more attractive. Maintenance is key to preserving the work you’ve done, ensuring the longevity and integrity of your concrete surfaces.
Concrete leveling is a manageable DIY project with the right tools and knowledge. Each step, from preparation to maintenance, plays a crucial role in your project’s success. Remember, your hard work in leveling and maintaining your concrete contributes significantly to the overall feel and safety of your home.
For professional help with more complex concrete issues, or if you simply want the job done by experts, contact Lift-Texas Construction. Our team is here to provide the top-quality service you need to keep your home looking and feeling its best. Get in touch with Lift-Texas Construction today and let us lift your project to the next level!